When a package fails, the CNC is often asked to produce the compile log for the developer. I am outlining two possible ways to accomplish this. Sometimes PC security is setup to thwart you from sharing data between computers, so it is helpful to know various methods.
The compile log is created in an AS/400 physical file (or table in SQL terms). On the AS/400 a table can have multiple members, so if a package fails, the different BSFN’s and NER’s that fail will have their output directed to one physical file, called FAILED, in a library named the same as the package name. Within this one file will be multiple members, each member having the name of the BSFN or NER that failed.
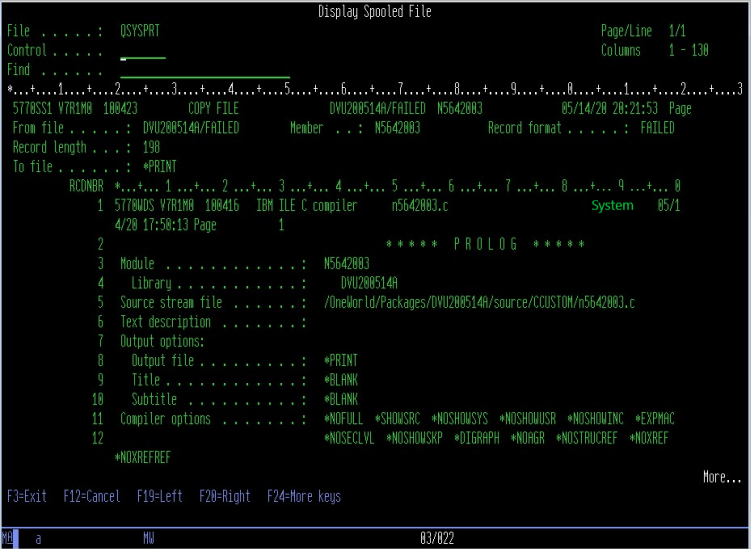
For example: If a package is named DVU200514A and the BSFN that failed is named N5642003, then the compile log will be output to a file named FAILED in library DVU200514A, with member name N5642003.
The quick and easy way to transfer files to a PC is drag and drop
This method is specifically for finding the compile log and producing it for the developer.
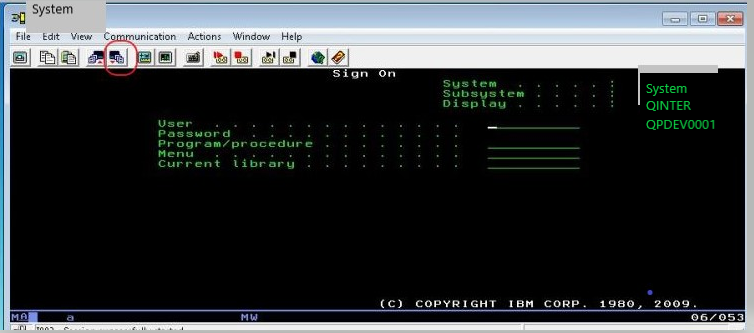
- Sign onto a Client Access 5250 emulation session
- You should see a command line
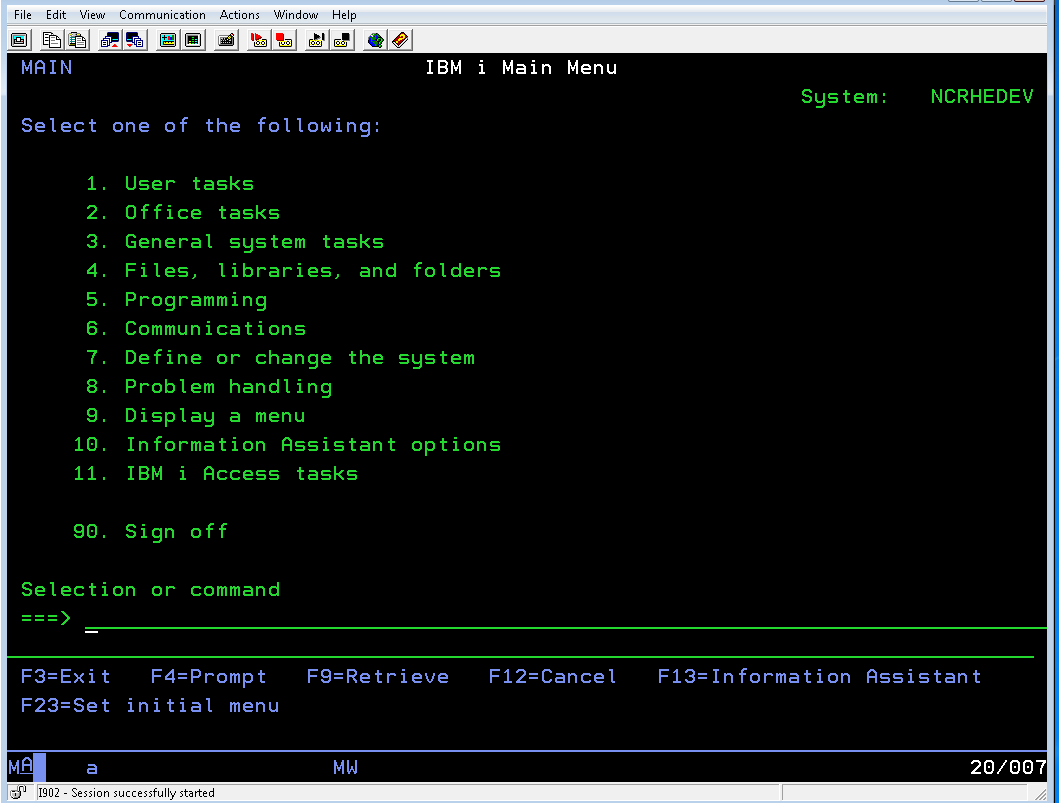
- On the command line type ‘CPYF’ and then press the F4 key to view of the parameters for the command
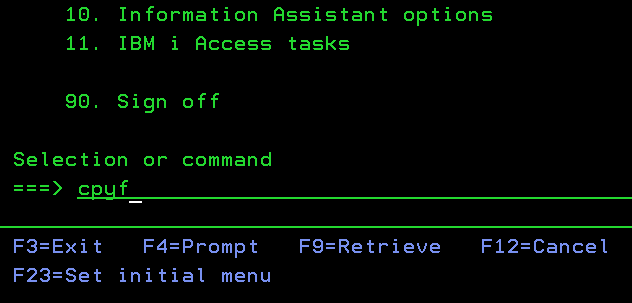
- Using the example above, the From File is FAILED, the From File’s Library is the package name We are going to output to a print file – in other words, we will create a file that could be printed on a printer instead of exported. The From member is either the name of the BSFN, N5642003, or you can use *ALL if you want.
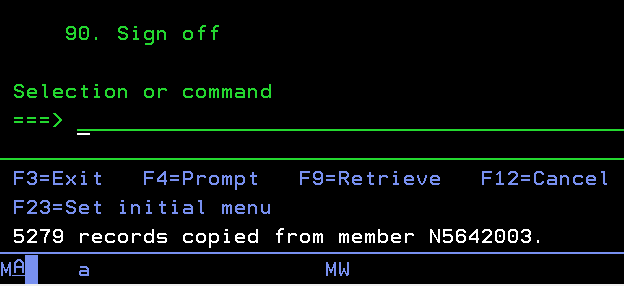
*ALL will output multiple file members if there are more than one. - Then press ENTER key. After the command completes, a message will show below the command line telling you how many lines were output to a print file
- Optionally, at this point you can view the file using the command WRKSPLF which shows all of your printer files. You may need to use the PAGE DOWN key to scroll to the bottom of the list of printer files, or you can use F18 to go to the bottom.
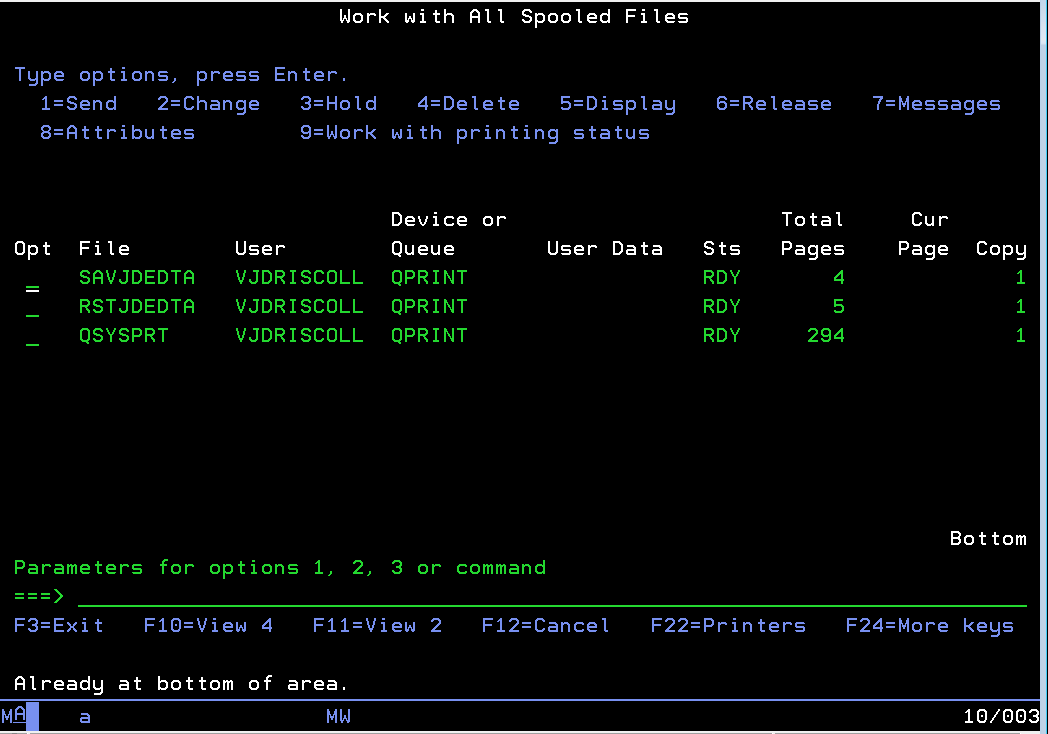
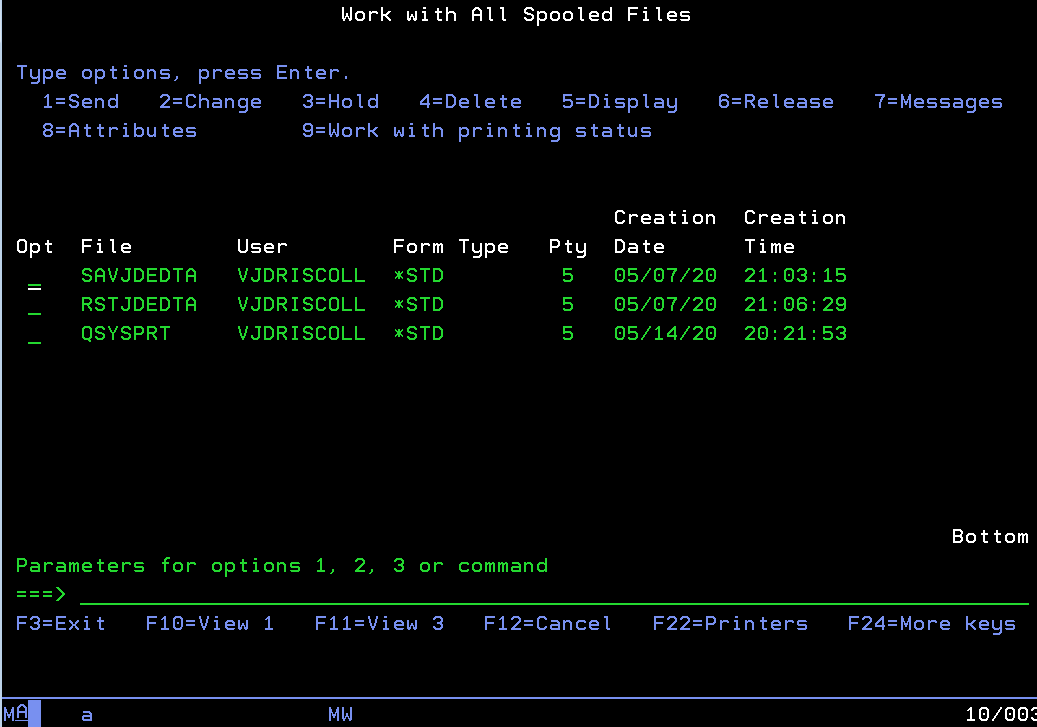
If it is not apparent which one of the files is the one you just created, use the F11 key a couple of times to see different views of the print files. Generally, you will find the file you just created at the bottom of the list. You can use option 5, here to view the print file.

- At this point in the procedure we change programs. Open the System i Navigator

- You should see a list of AS/400 servers
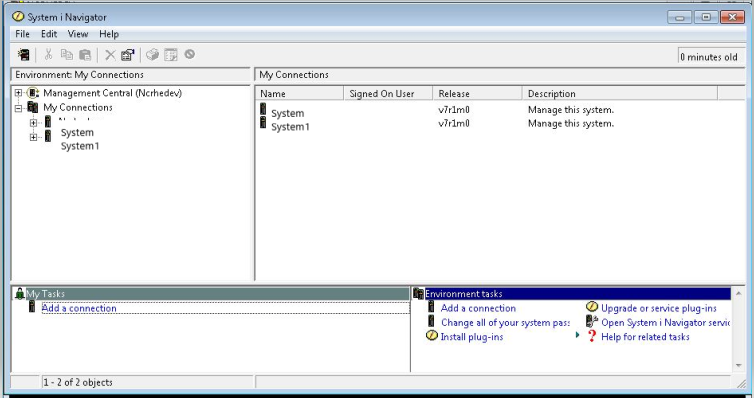
- Click on the + sign next to the system that you were signed in to, to print the file
- Then click on the + sign next to Basic Operations and click on the words Printer Output
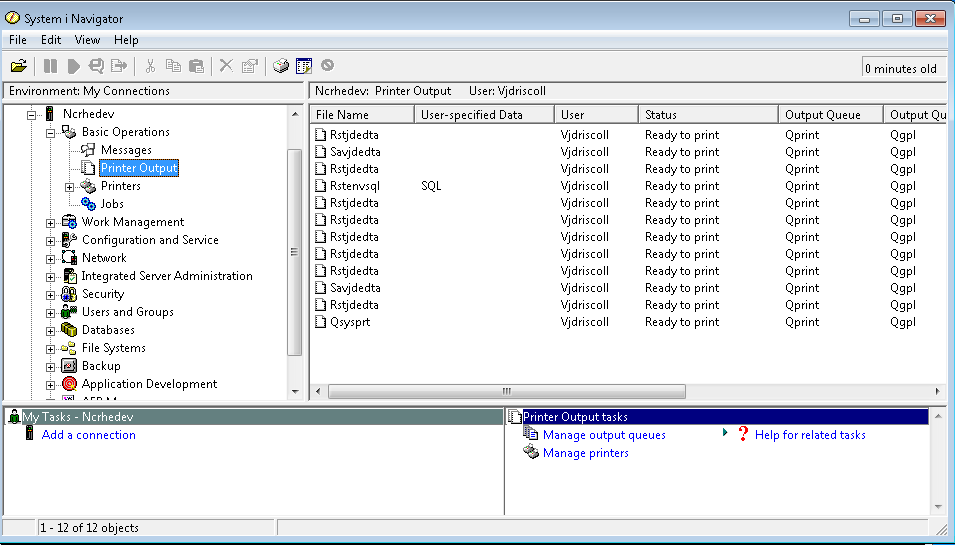
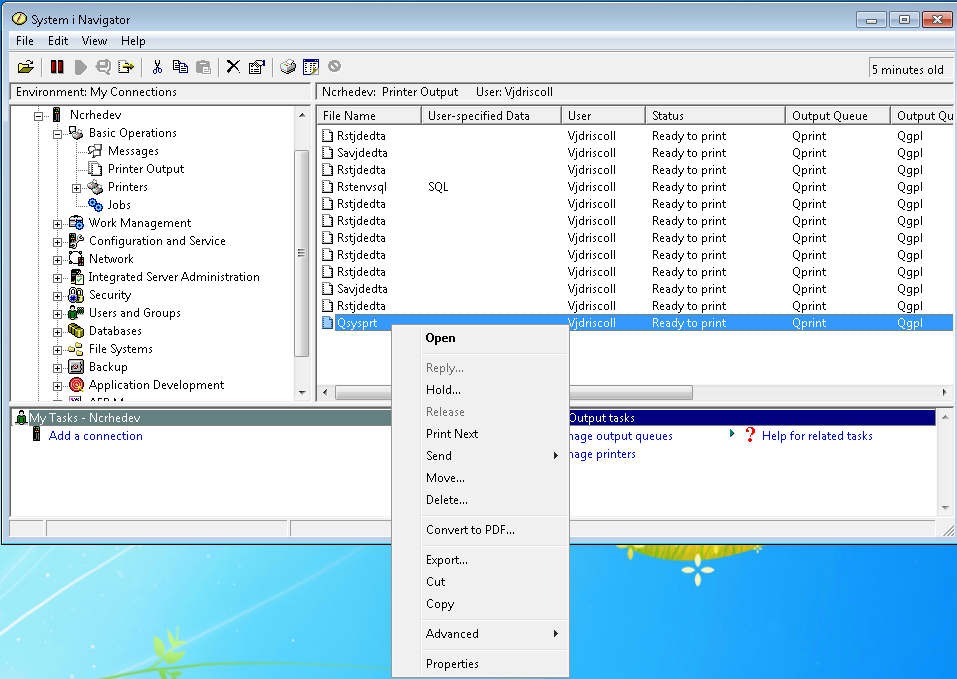
- You should see the file that you created in the previous steps at the bottom of the list. You can double click on the file to view it in the AFP workbench (if that module was installed on your PC)
- Copy the file by clicking on it, then right click and select Copy
- Then on your desktop right click and select paste
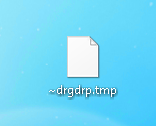
- While the file is being copied you will see a temporary file on your desktop that looks like this:
- After the copy is completed, you should see that the file name changes to the same file name that was on the PC. If this happens the file will be in .txt format and you can open or email the file as you would any other text file.
Sometimes you don’t, which means something on the PC is missing, or the version is too old, or a security policy has been setup that does not allow you to copy the print file from the AS/400 this way. That is where we get to the second method of transferring data from the AS/400.
Transferring data from the AS/400 using File Transfer
- For this method we again use the 5250-emulation session, but instead of typing on the command line, click on the icon above the emulation screen with the cascading files.
- The Data Transfer program should open.
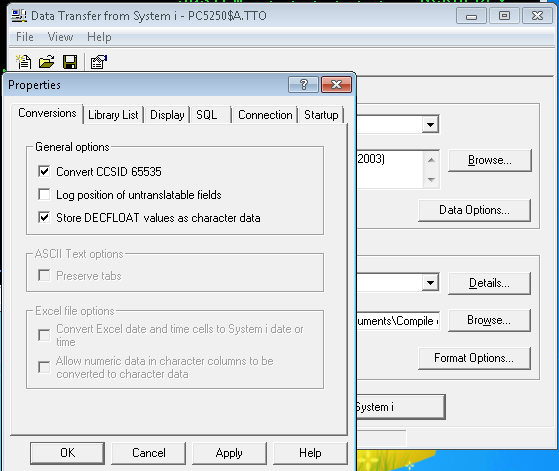
- The first step is to use File/Properties menu and make sure the Convert CCSID 65535 is checked. Then press Apply if you change it and then OK to exit.
- Then enter the System Name and Library/File Name. For the multiple member file, add the member name within parenthesis.
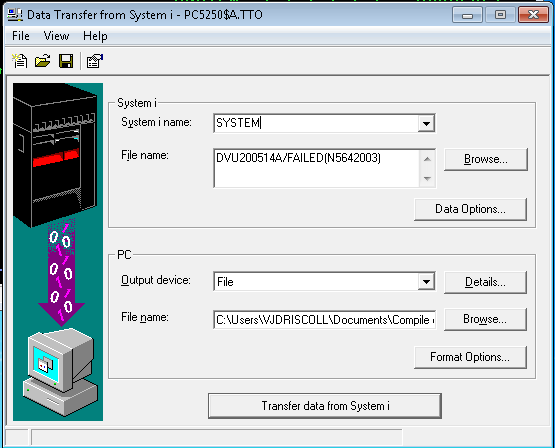
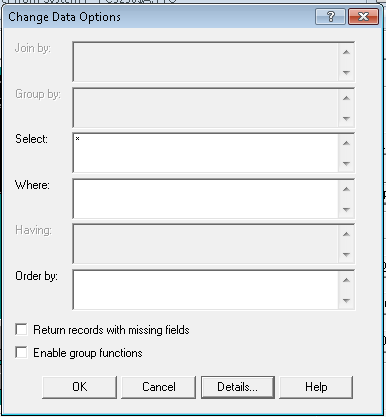
- If this is a regular table that you are downloading, Press the Data Options to choose SQL type selections. Also, some tables have BLOB fields in them. BLOB fields will not transfer and you will receive a hard error message if you try to transfer BLOB fields. In order to skip the BLOB fields, you would select Detail here and it will allow you to select which fields to transfer.
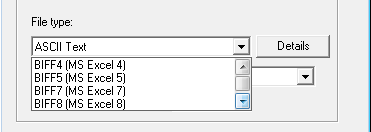
- Next to the Output device there is another Details button. Select this in order to select what type of output file you want the download to be converted to. The File type for this text files is ASCII Text. For regular tables, you want to choose BIFF8 in order to open the file in Excel and get field names as the column titles.
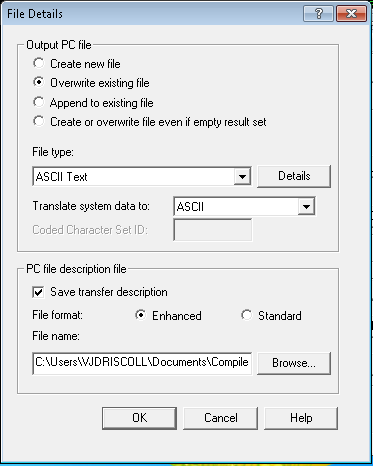
The PC file description file is important only if you will need to upload data. In order to upload data, you have to define columns and file type. So it is easier to download the table first, and save the file description file, then upload the data using this file description file.
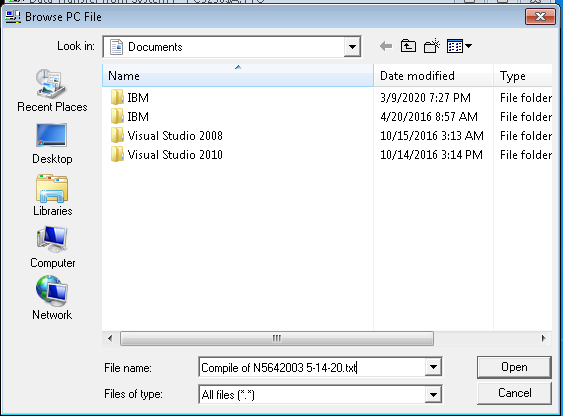
- Then select where you want to save the data, by pressing the Browse button. You have to specify the entire file name including the extension. Then press Open and it fills the name in the original screen.
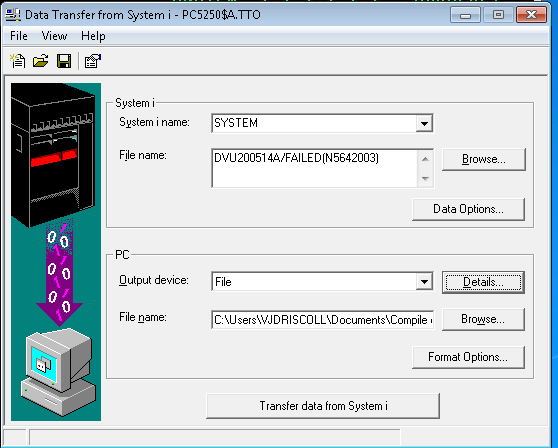
- At this point you can press the Transfer data button.

- A Completion message is displayed when the file has been transferred.